Archive
Install Gibbon on Ubuntu Server 20.04
Gibbon is an open source school platform project designed to be flexible, extensible and themeable, whilst aiming to help teachers to do their jobs. It aims to provide all schools, no matter their size or resources they have, with the systems they need to provide effective learning, teaching and school management. Gibbon is built using PHP, MySQL, jQuery, Git, Atom and other open tools.
I have done this step-by-step “How To” to help an academy so they can benefit from Gibbon. This particular academy already have an empty physical server to host the app but for this documentation, I used the following:
o Ubuntu Server 20.4 ISO
o Ubuntu Server 20.04 VM on Oracle VirtualBox
– RAM 2GB
– vDisk 32GB
– Bridged network interface
o 5 Mbps Internet connection (not much but served it’s purpose)
Prep-work
o Download Ubuntu Server 20.04 ISO
Download the server ISO from the Ubuntu Server download page
o Create the Ubuntu Server 20.04 install USB
For this, I used balenaEtcher on my Windows 10 PC.
I opted for the portable version which you can choose by clicking the drop-arrow icon.
It is important to run the app as Administrator. Otherwise, you will get a privilege error.
Ubuntu Server Install
o Insert the USB installer into any available working USB port of the physical server
(I will simply refer to this as just “server” hereafter)
o Turn on the server, then get into the BIOS/EFI interface and configure it to boot from USB
– at times, you will need to disable Secure Boot too
After you save the settings, the server will reboot
o On reboot, if all goes well, the server will boot from the USB installer.
On this install page, select English and press the Enter key to continue.
By the way, you will need to press the Enter key to execute a command.
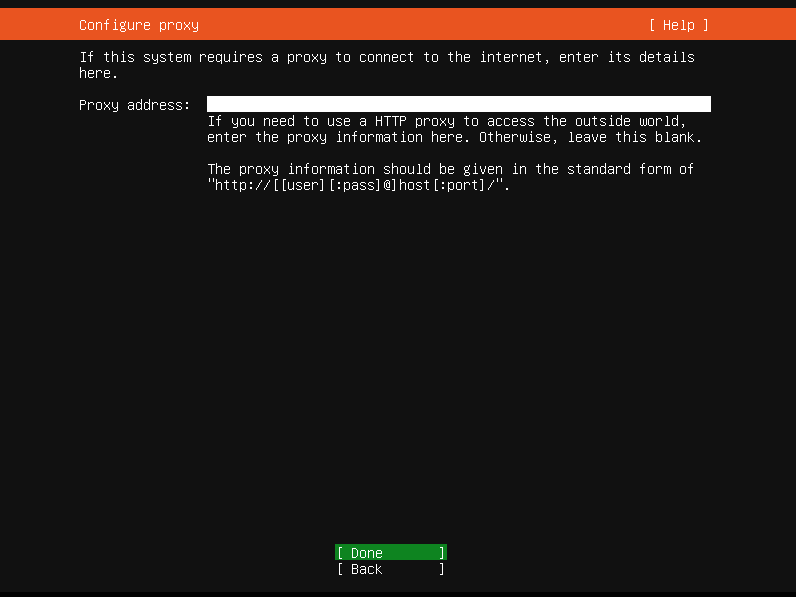
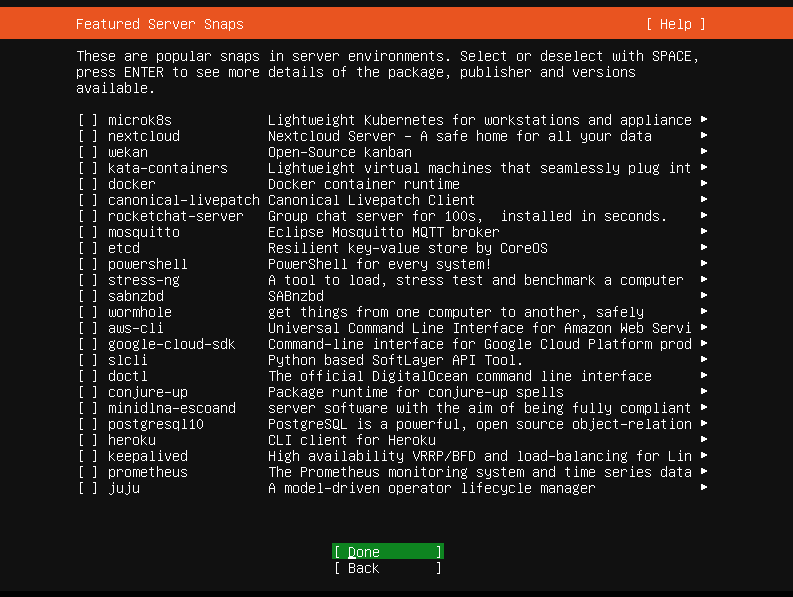
o From here, follow the screenshots below but bear in mind that you need to substitute values or entries that apply to you.


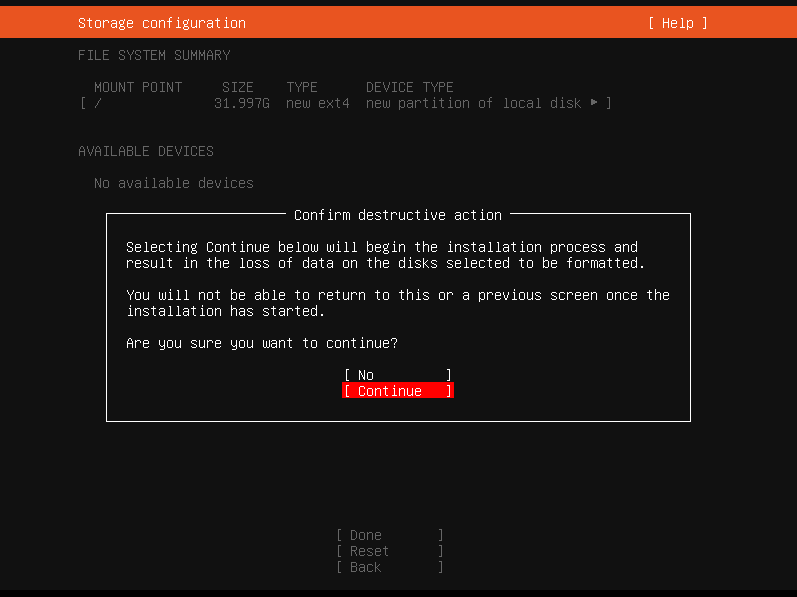


You will have to wait until the installation completes so be patient.
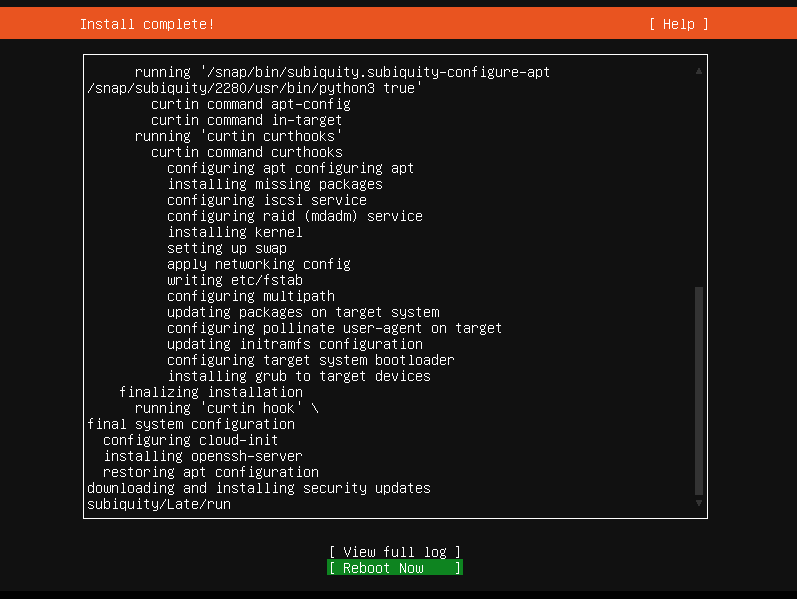
Press Enter to reboot the server.
You will be prompted to eject or remove the USB installer; do so then press Enter.
After the reboot, you probably will see something like this:

Don’t be alarmed. Just hit Enter.
Login using the user credentials you created during the install process.
Setting Up LAMP
o To be sure the server is up-to-date, execute the following commands:
sudo apt -y update
sudo apt -y upgrade
sudo apt -y –fix-broken install
Enter the user password when prompted for it.
o Verify the server’s IP address and take note of it. Execute command ip address to do this.
o Exit from the server then go to your PC. Assuming you’re using a Windows PC, download the latest Putty from the developer’s website; click HERE to download.
o Launch the Command Prompt as Administrator.
Execute command notepad C:\Windows\System32\drivers\etc\hosts.
Edit the file like below:

Remember to enter the actual IP address of your server.
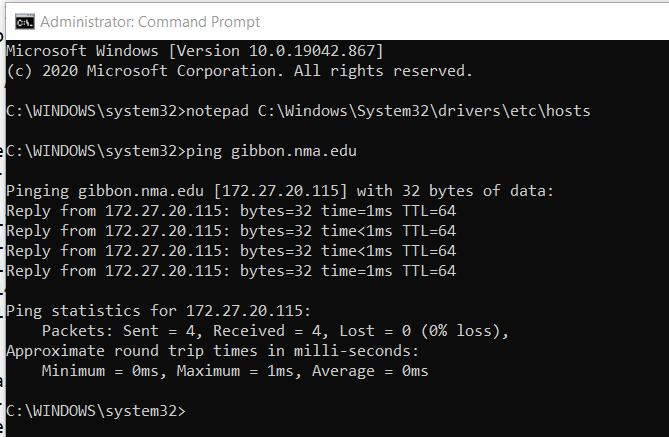
o Close the file then select Save and verify connectivity to the server, execute command ping gibbon.nma.edu
If all is good, you will have result like below:
(Please note that this domain name is only local. Should you intend this to be public, have it registered)
o Go to the Downloads folder, launch Putty.

In Putty, type the server IP address or the host name in the Host Name field; click Open then use the same user credentials in previous procedure. Select No when prompted.
o Copy the string of command below and paste it on Putty by doing a right-click of your mouse
sudo apt -y install apache2 mariadb-server mariadb-client php libapache2-mod-php php-common php-sqlite3 php-mysql php-gmp php-curl php-intl php-mbstring php-xmlrpc php-gd php-bcmath php-xml php-cli php-zip unzip git
You will be prompted for user password; please do so. This process downloads and installs the LAMP packages and will take time depending on your Internet connection so be patient.
Tasks like copying and pasting commands is easy when working remotely on the terminal; this is why I prefer it when working on our servers.
o Execute this command sudo apt -y –fix-broken install to make sure we’re not missing any software packages.
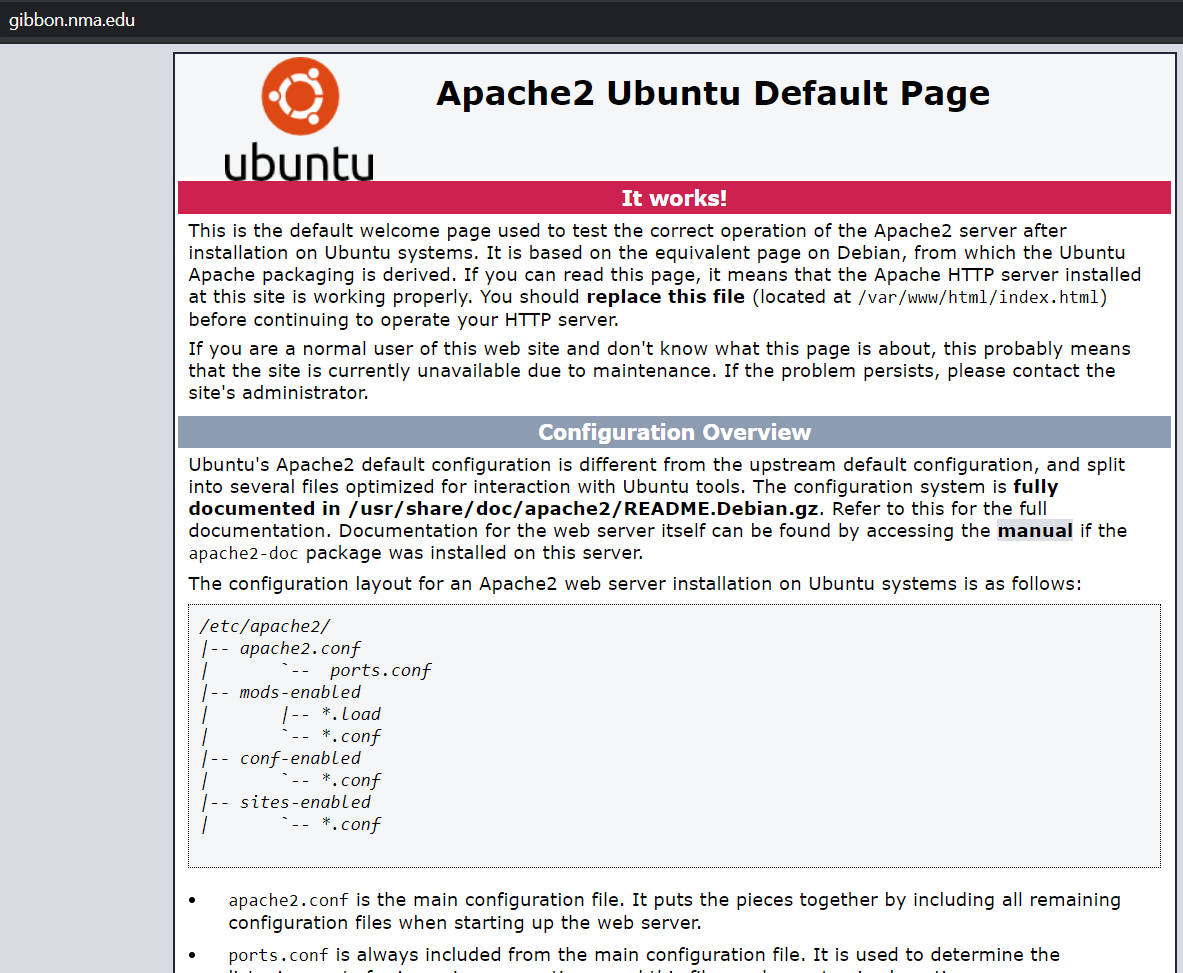
o To verify that the web server is installed and running, launch your web browser and point it to http://gibbon.nma.edu.
You should have something like this:
o We now need to edit a few PHP parameters for use with Gibbon.
Execute command sudo nano /etc/php/7.4/apache2/php.ini
This opens the file with the Nano text editor.
Proceed to change these parameters:
memory_limit = 384M
upload_max_filesize = 200M
post_max_size = 256M
max_file_uploads = 100
Important: Value must be larger than number of students in a class
max_execution_time = 120
date.timezone = Asia/Manila
Relevant nano keys:
CTRL+W <<< launches the find/search entry
CTRL+X <<< exits the app. Press Y to confirm save changes
o Next, we create and prepare a database for use with Gibbon. Execute commands:
sudo mysql
CREATE DATABASE gibbondb;
CREATE USER 'gibbonuser'@'localhost' IDENTIFIED BY 'gibbonpass';
GRANT ALL ON gibbondb.* TO 'gibbonuser'@'localhost' WITH GRANT OPTION;
FLUSH PRIVILEGES;
EXIT;
Entries in red, must be changed to what is relevant to you; I just used those to document this procedure.
Gibbon Install
o Download latest Gibbon package from offcial github repository.
Execute command wget -c https://github.com/GibbonEdu/core/archive/v21.0.01.zip
o Extract the downloaded file; execute this command unzip v21.0.01.zip
o Next, move the extracted files to /var/www/html/gibbon
Execute command sudo mv core-21.0.01 /var/www/html/gibbon
o Verify if move is a success.
Execute ls /var/www/html.
You will see something like this:

o Proper permission must be assigned on the Gibbon directory.
Execute commands:
sudo chown -R www-data:www-data /var/www/html/gibbon/
sudo chmod -R 755 /var/www/html/gibbon/
o Configure Apache web server for Gibbon use.
Execute sudo nano /etc/apache2/sites-available/gibbon.conf
This opens a blank file; populate it with this:
ServerAdmin admin_email@mail_domain
DocumentRoot /var/www/html/gibbon
ServerName gibbon.nma.edu
Options FollowSymlinks
AllowOverride All
Require all granted
ErrorLog ${APACHE_LOG_DIR}/error.log
CustomLog ${APACHE_LOG_DIR}/access.log combined
RewriteEngine on
RewriteBase /
RewriteCond %{REQUEST_FILENAME} !-f
RewriteRule ^(.*) index.php [PT,L]
Press CTRL+X <<< exits the app. Press Y to confirm save changes
o Enable the newly created config file
Execute sudo a2ensite gibbon.conf
o Enable apache rewrite & restart the Apache services
sudo a2enmod rewrite
sudo systemctl restart apache2
o Now we're ready to install Gibbon.
If you still have the browser window open when you tested for Apache, simply refresh the page. Otherwise,
point your web browser to http://gibbon.nma.edu.
This is Page1 for the web GUI Gibbon installation. Change the System Language to English – United States
you can leave this unchanged if you wanted to use the default.
Click Submit to continue.
o Fill the form with the following info:
Database Server: localhost <<< don’t change this
Database Name: gibbondb
Database Username: gibbonuser
Database Password: gibbonpass
Install Demo Data: Yes <<< you need this to learn about the system
Note that Database Name and Database Username are what you specified in the database creation.
Click Submit to continue.
o Fill the form with the following info:
Under User Account
Surname, First Name, Email, Username, Password
Must be credentials of the personnel who will maintain the system
Under System Settings
Base URL: Same as the web address you used on the browser. Please note that this is only available
on campus unless hosted on outside hosting site with registered domain name.
System Name: You can use Gibbon or another name of your choice
Install Type: Production
Other options will be more confusing especially if you're not a developer since debugging notifications will pop-up from time to time
Under Miscellaneous
Country: Philippines
Currency: Philippine Peso
Timezone: Asia/Manila
Click Submit to continue.
o Click go to your homepage, login, and start using Gibbon.
Use the user account credentials you entered on Step 3 of the web GUI installation page to login.
o Visit the Gibbon Support YouTube page.
Learn from the Gibbon Training Day 2021 series.
Hope this helps… 🙂
